Help
Video Help
Enable in projects
Configure fields and screens
Creating and using personas
Post-Install
Note: You must be an administrator to finish the installation.
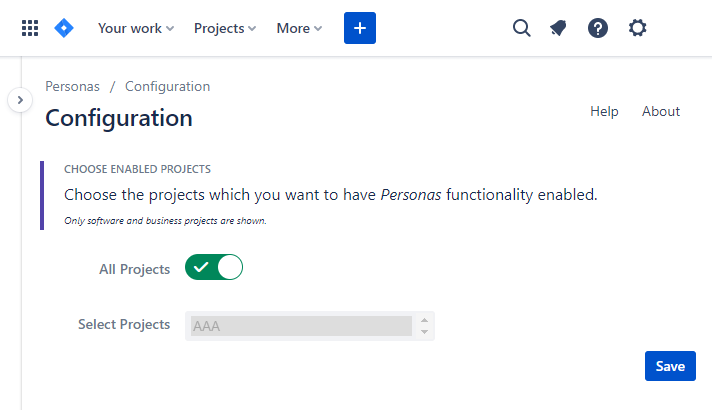
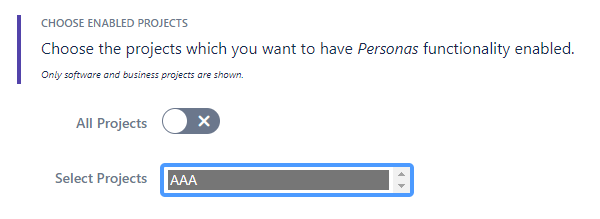
First configure which projects you want to add Personas to by entering the app configuration and selecting either "All Projects" or the specific projects you would like to enable. Then click "Save ".
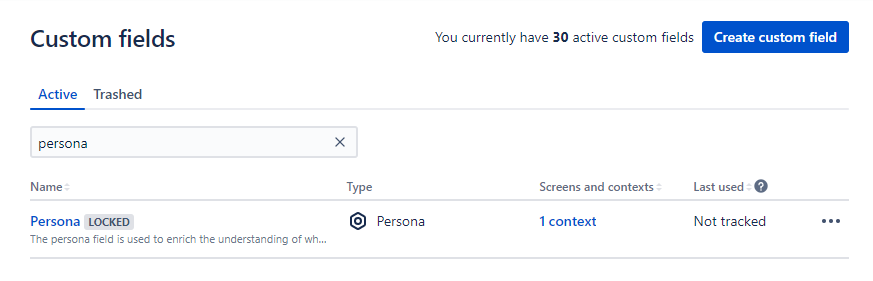
In the custom field configuration you should see a new custom field called "Persona".
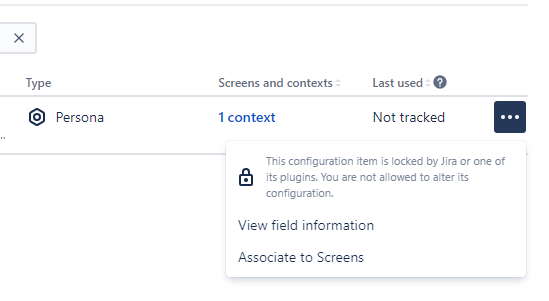
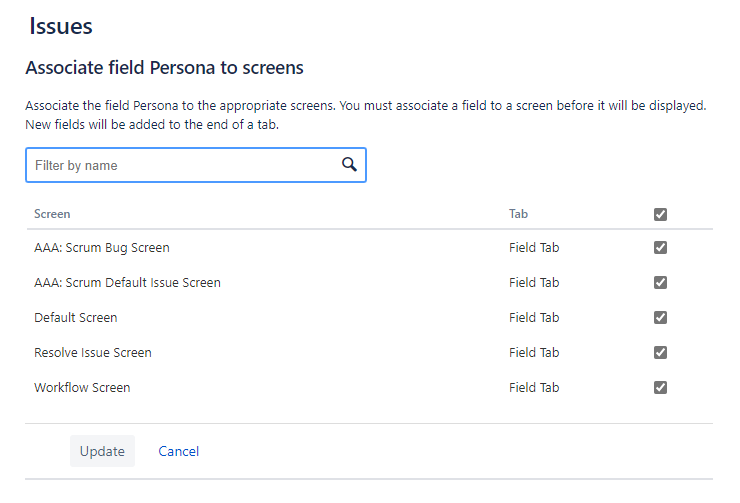
Then associate this field with the screens that you wish to use Personified.
Select the screens.
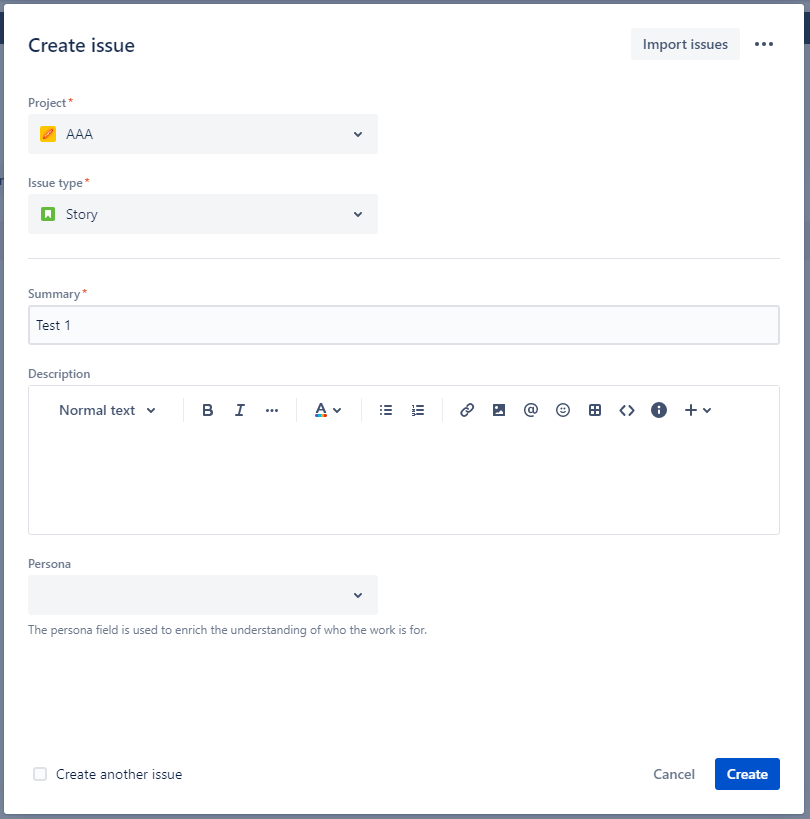
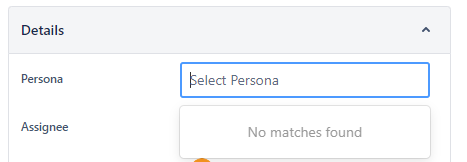
You should now see the "Persona" custom field on the screens you selected. For example, below is the edit issue screen with the "Persona" field showing.
As this stage there are no personas to choose from - please continue to Project Admin below to add personas.

Project Admin
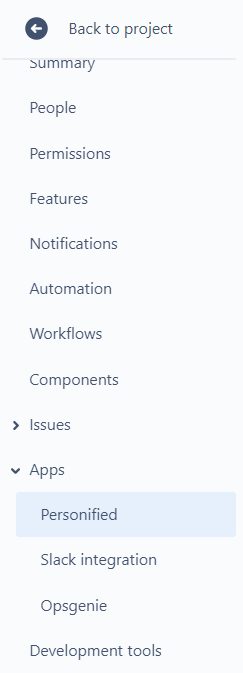
In a project that has "Personified" enabled enter into the project settings.
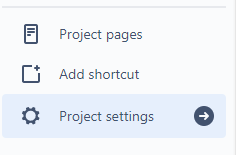
Under the Apps section you will see the Personas.
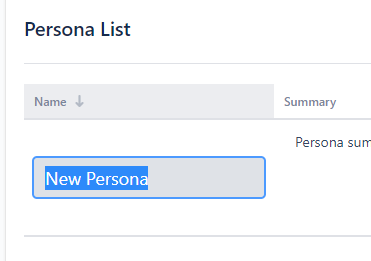
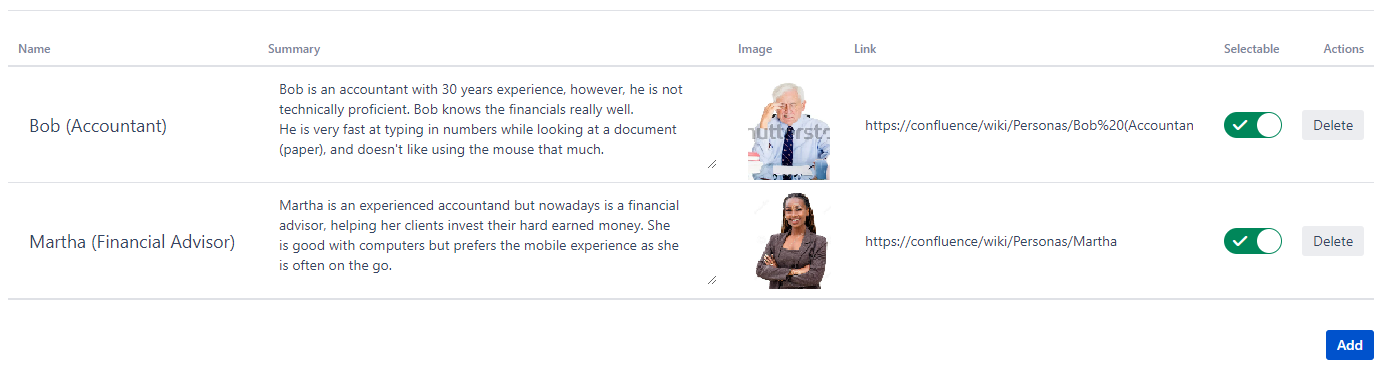
Click "Add" to add a new persona.


The new persona is NOT YET available in your screen.
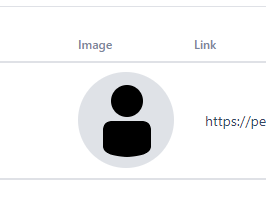
Now you can edit the persona details.

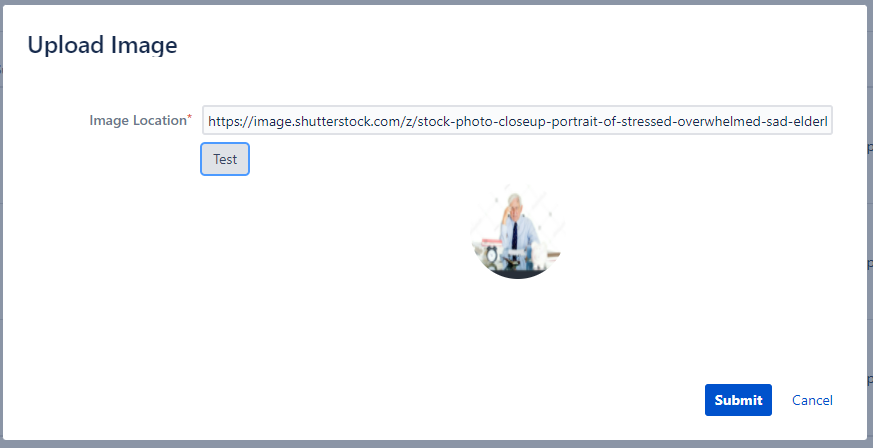
Click the image to upload a new icon.
Select a url or use a data url to embed a svg or base64 encoded image.
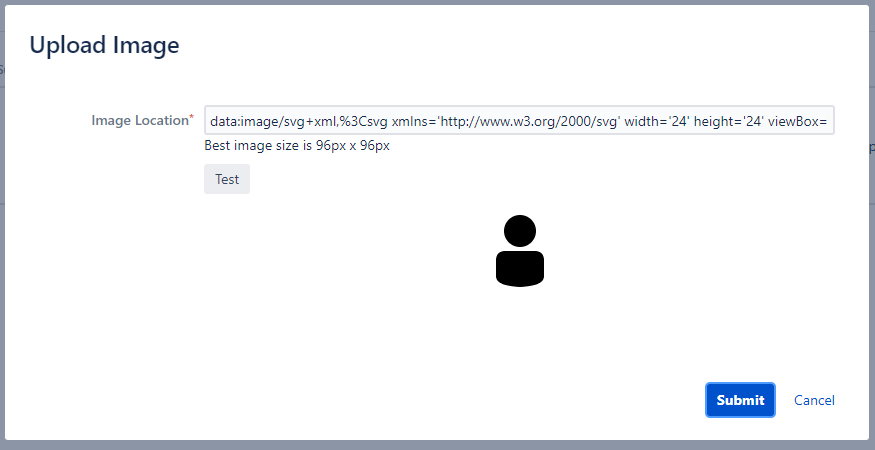
Click "Test" to make sure the image loads correctly. Then click "Submit" to save the image.
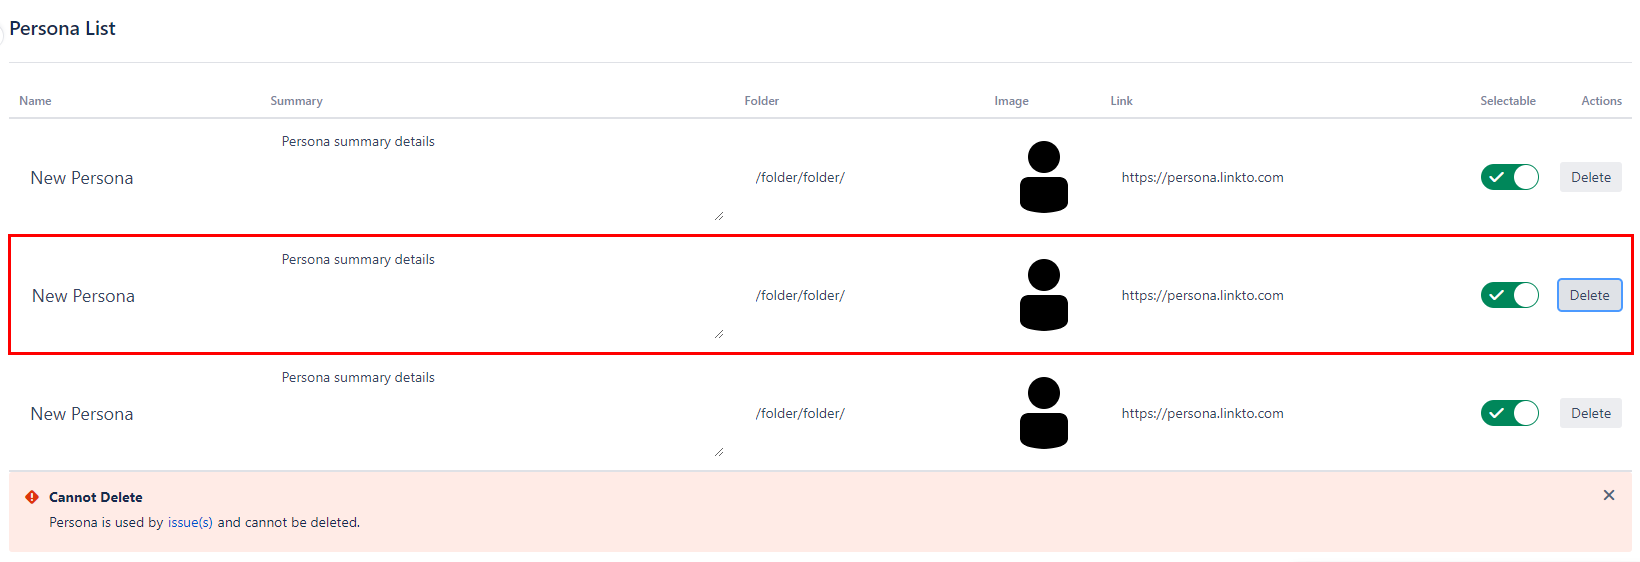
Change the "Selectable" value to allow this persona to be selected in the enabled screens.

Clicking "Delete" will delete the persona. The persona is unable to be deleted if it is being used by an issue - the error message contains a link to see which issues are using this persona.
Issue Usage
The personas should now be selectable within enabled screens.
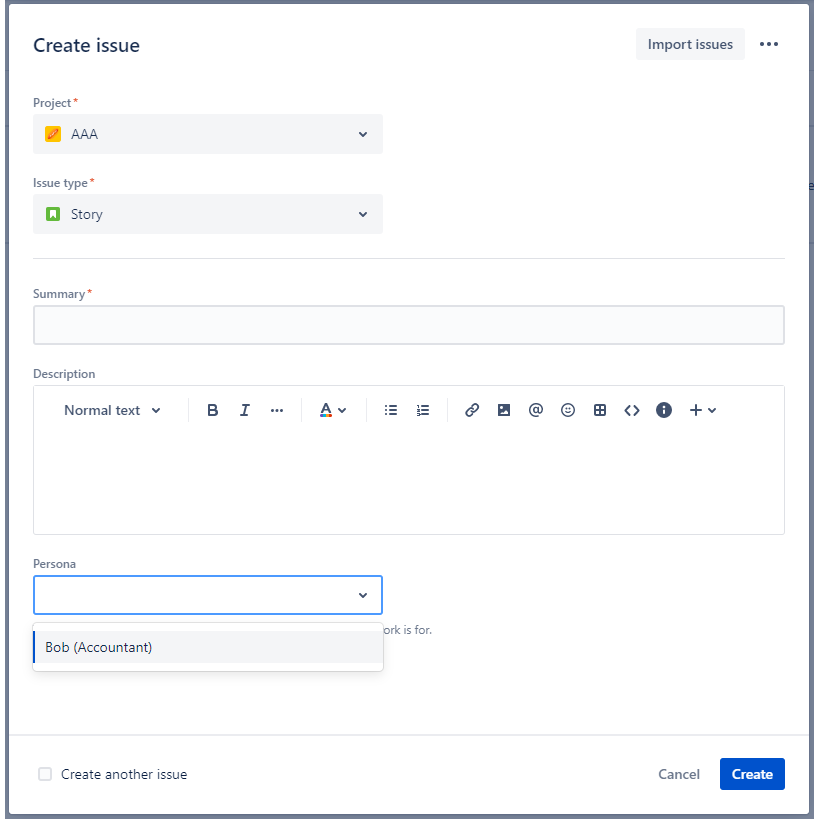
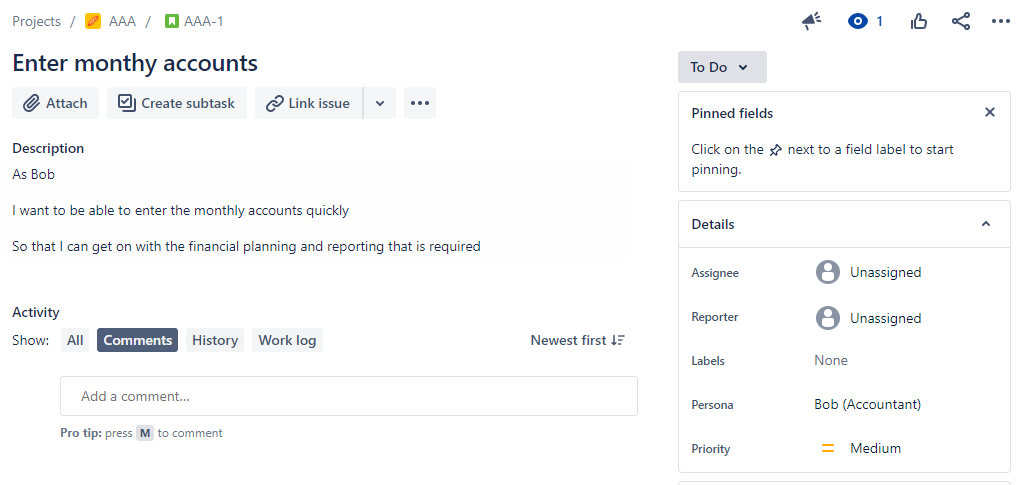
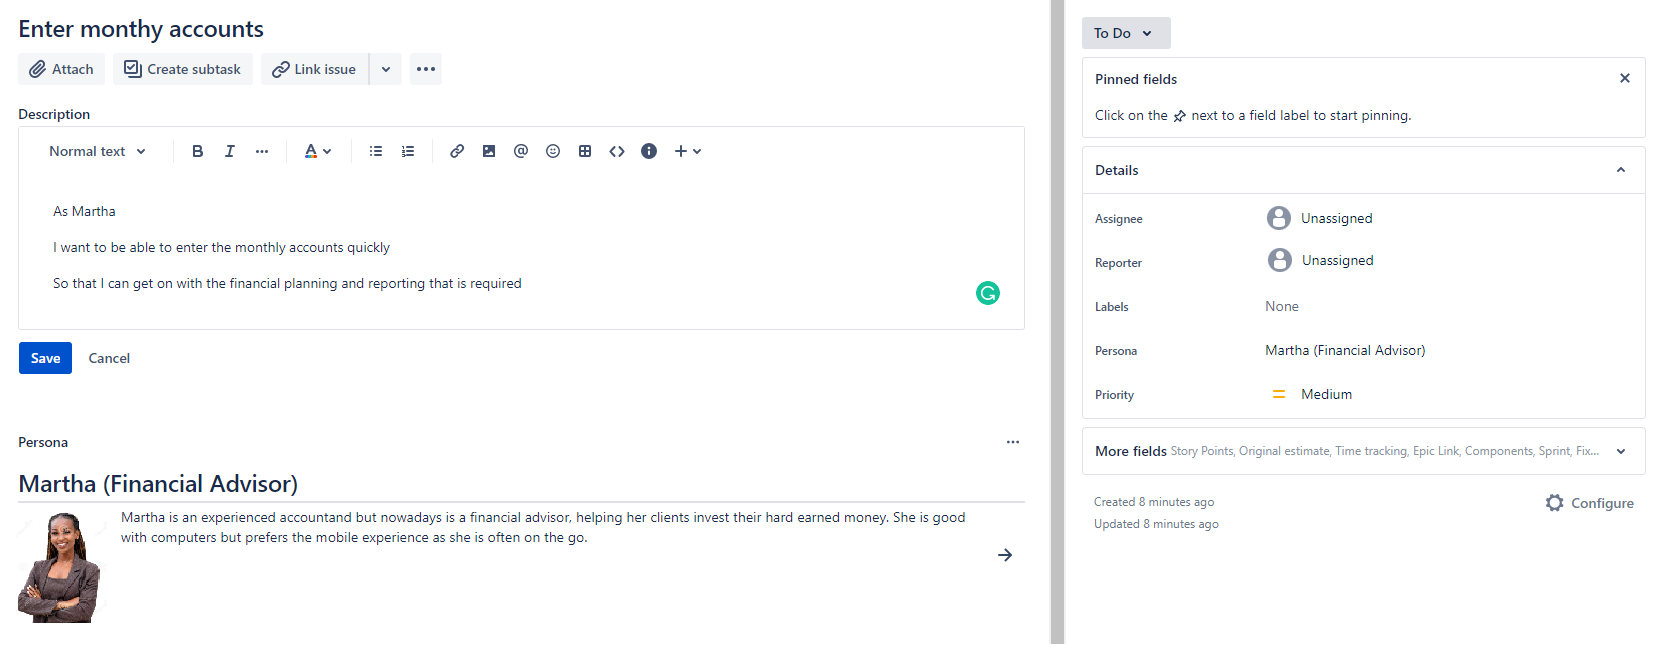
Within a view issue screen you should see the person as a normal field (in the right hand panel).
Click the "..." to add the Persona app to this screen.

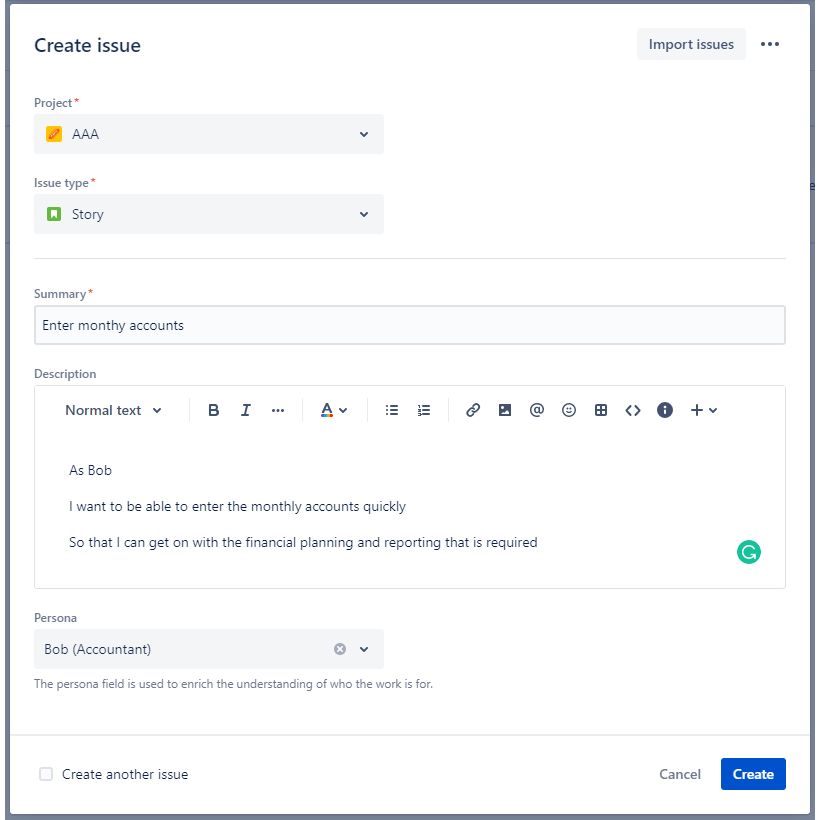
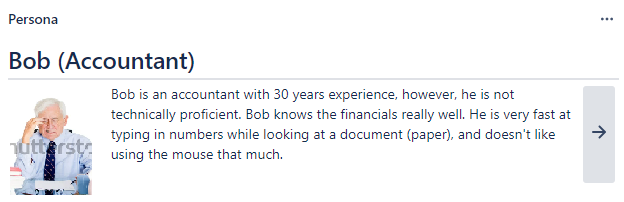
You should now see the persona box with the details of the selected persona shown.
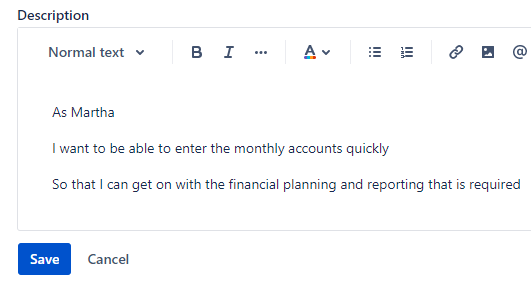
There is no link between the description written - all data is based on the custom field this may mean that you user stories just got 33% faster to write.
If an incorrect persona was selected or the persona changes then simply select another.
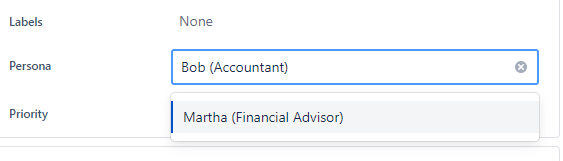
The persona box should automatically update with the new persona details.
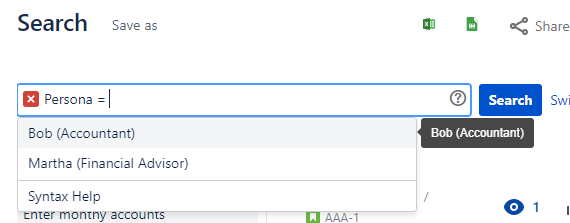
Search
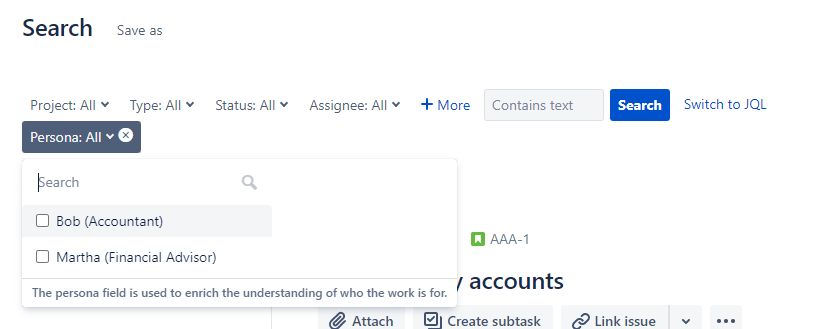
Searching for personas is easy in simple mode with all possible personas displayed.
In advanced mode, you can search for individual properties of a persona, for example, Persona Folder.
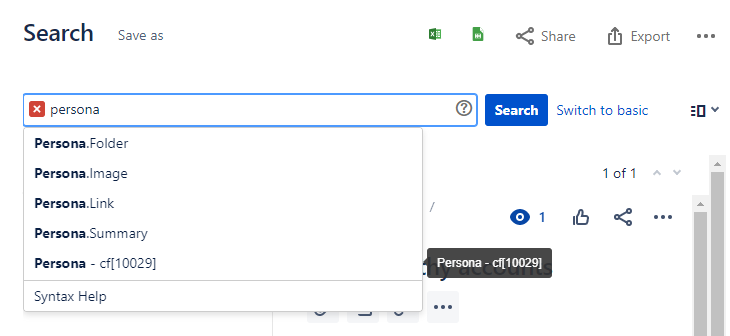
Or simply search for the persona name.
Licensing
Once installed click "Get Started".
If an update exists the App Manager should let you know and allow for updates.
